
How to Label and Map a 48-Port Patch Panel for Faster Network Troubleshooting
Share
How to Label and Map a 48-Port Patch Panel for Faster Network Troubleshooting
A patch panel can make a network easier to manage—if every port can be identified quickly. Without a clear label and an accurate record, a 48-port panel can turn a simple move, add, or troubleshooting task into a hunt through patch cords, cable bundles, and switch ports. With a consistent port-map system, the panel becomes a dependable physical directory for the network.
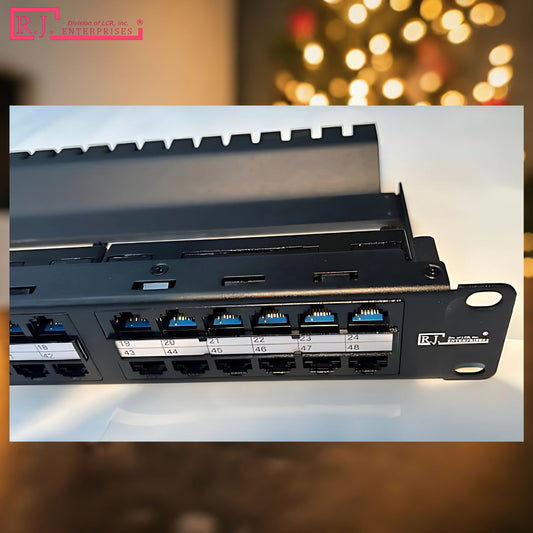
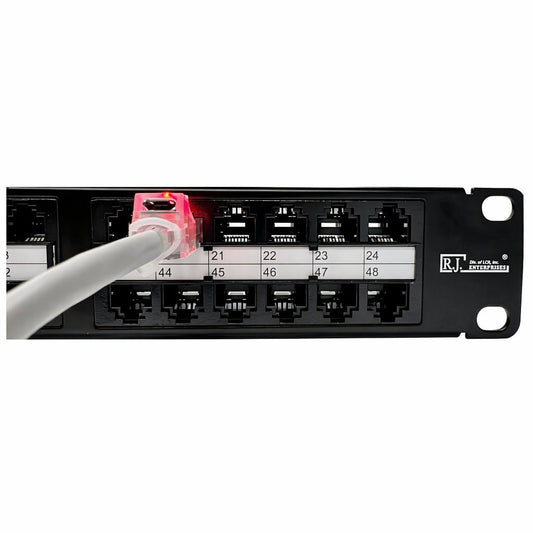
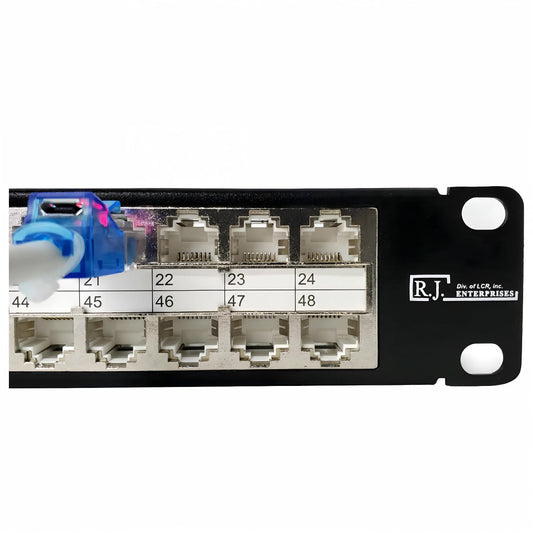
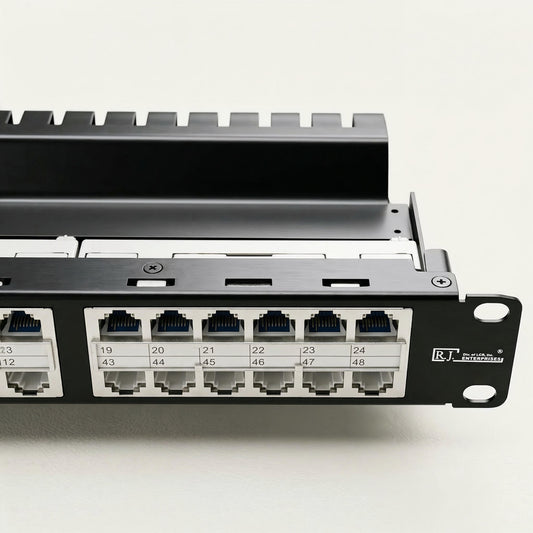
This guide explains a practical way to label and document a 48-port panel, using the R.J. Enterprises HDPP-48S-C6A shielded Cat6A patch panel as an example. Its 48 ports fit in 1U, its tool-less design accepts compatible keystone jacks, and its front and back label holders support a more organized installation. The same planning method also works for the unshielded HDPP-48-C6A and Cat6 versions of the high-density panel.
Why labeling is a network-operations tool
Good labels are not decoration. They help technicians connect a port to a room, device, rack position, switch interface, and cable record without disturbing other links. During a service call, that can reduce time spent tracing cables and lower the chance of unplugging the wrong device.
For a 48-port panel, a number alone is usually not enough. “Port 27” only becomes useful when the team can immediately tell what port 27 serves. A clear scheme should answer three questions:
- Where does the permanent cable go?
- What device or service does it support?
- Which active switch port is it patched to?
That information is especially useful in dense racks that support workstations, wireless access points, cameras, PoE devices, servers, or building systems. It also helps when a new technician inherits the site. For a refresher on the panel’s basic job, read What Are Patch Panels?; for the relationship between the passive panel and active network gear, see Patch Panels vs. Switches.
Start with a consistent naming format
The most useful labels follow a repeatable structure. One practical format is:
Site–Rack–Panel–Port–Destination–Service
For example: HQ-R03-PP01-27-ConfA-WAP. This indicates headquarters, rack 3, patch panel 1, port 27, Conference Room A, wireless access point. The exact abbreviations can vary, but they should be defined once and used everywhere.
Keep the text short enough to fit the label holder while retaining the full record in a spreadsheet, cable-management platform, or as-built document. The front label should make the port readable at the rack; the record should supply the supporting details such as switch port, VLAN, cable ID, installation date, and test result.
The TIA-606 administration standard is a useful reference for organizations building a formal telecommunications labeling program. Your site’s specific labeling requirements should be determined by its project documentation, applicable standards, and operating procedures.
Divide the 48 ports into logical groups
Sequential port numbers are easy to follow, but grouping them by service makes troubleshooting even faster. Do not mix categories randomly across the panel if you can avoid it. Instead, assign port ranges in advance and leave spare capacity within each range.
| Ports | Suggested use | Example label |
|---|---|---|
| 01–12 | Office and workstation drops | HQ-R03-PP01-04-Finance-Desk02 |
| 13–20 | Wireless access points | HQ-R03-PP01-15-EastHall-WAP |
| 21–28 | Cameras and access-control devices | HQ-R03-PP01-24-Lobby-Cam01 |
| 29–36 | Servers, BMC/IPMI, and management equipment | HQ-R03-PP01-31-Server04-BMC |
| 37–48 | Reserved expansion capacity | HQ-R03-PP01-41-Reserve |
This is only a model. A retail store might reserve groups for POS, cameras, Wi-Fi, and back-office systems. A data-center rack might group BMC ports, PDUs, environmental sensors, and OOB devices. The important thing is to establish the groups before the panel becomes crowded.
Match front labels to back labels and records
The front of the panel should identify what technicians need during day-to-day patching. The back label, cable tag, and documentation record should match the same port identifier. For example, if the front says PP01-24 Lobby-Cam01, the cable entering the rear of port 24 should carry the same identifier, and the network record should show the associated switch port and device details.
This three-way match—panel, cable, and record—helps isolate faults. If a camera stops responding, a technician can find the panel port, trace the patch cord to the switch, confirm the switch interface, and test the permanent link without guessing. A basic wire-map test is a useful first step when verifying a copper run; Fluke Networks explains why wire-map tests matter.
Use the patch panel to support PoE and high-speed planning
Labeling should include service context. A port that supports a wireless access point or camera may need PoE, while a server-management port may not. Recording that distinction helps the team avoid connecting a device to the wrong switch or assuming every outlet has the same power capability. For background, see our guide to Power over Ethernet.
When the horizontal cabling and connected equipment call for Cat6A, the HDPP-48S-C6A provides a shielded, high-density panel for 10GbE-capable copper channels. Shielded installations require a coordinated approach across the cable, jack, panel, and bonding/grounding practices. See our article on shielded versus unshielded keystone jacks before selecting components.
Document every move, add, or change
The port map is only accurate if it is maintained. Establish a simple procedure: when a port is installed, repatched, reassigned, or removed, update the front label if necessary and update the central record before closing the ticket. Include the device name, destination, switch port, test status, and date of change.
Tool-less, keystone-based panels make it simpler to add or replace compatible jacks without punch-down work at the panel. That does not eliminate the need for testing and documentation. Every completed change should be verified, and the test result should be saved with the cable record. For a broader installation plan, use our structured cabling checklist.
Make the next troubleshooting visit easier
A labeled 48-port patch panel turns a dense rack into a system technicians can understand at a glance. Start with consistent names, group ports by service, leave documented capacity for growth, and make the panel, cable tags, and records match. Then use the high-density layout of the HDPP-48S-C6A to keep all 48 connections organized in 1U rather than scattered across the rack.
Browse the R.J. Enterprises patch-panel collection to compare high-density Cat6 and Cat6A options for your next structured-cabling project.