
Structured Cabling Checklist: How to Plan a Clean, Reliable Network Installation
Share
Whether you are finishing a home network, upgrading an office, or organizing a rack, a structured cabling project goes more smoothly when every connection has a clear purpose. This checklist helps you select the right components, plan a clean path from the rack to the wall outlet, and avoid common compatibility mistakes.
1. Start with the cable category and network goal
Choose components that match the performance your installation needs. Our Cat5e vs. Cat6 vs. Cat6A guide explains the practical differences, while the Power over Ethernet (PoE) guide is useful when the run will serve cameras, access points, phones, or other powered devices. For a quick visual reference, browse our network cabling infographics.
2. Build the rack or network-closet side first
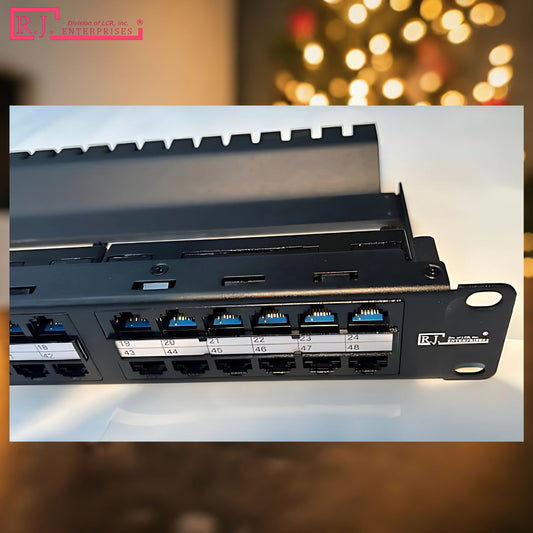
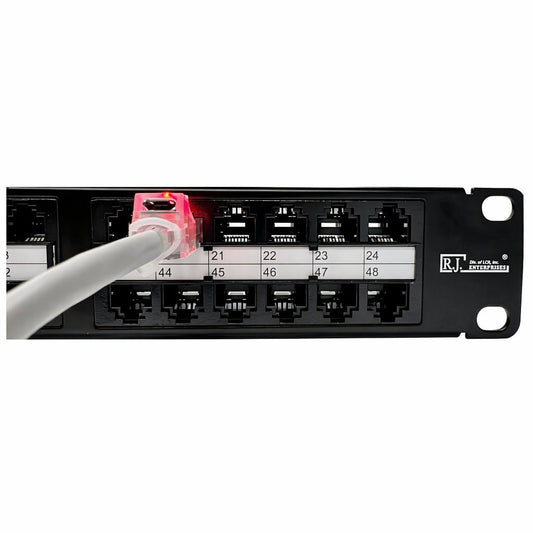
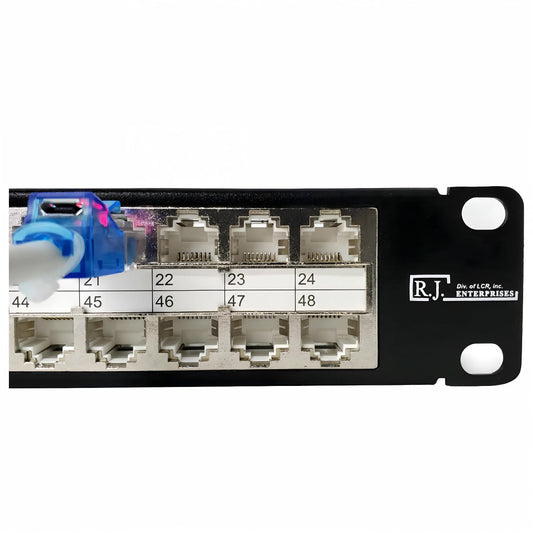
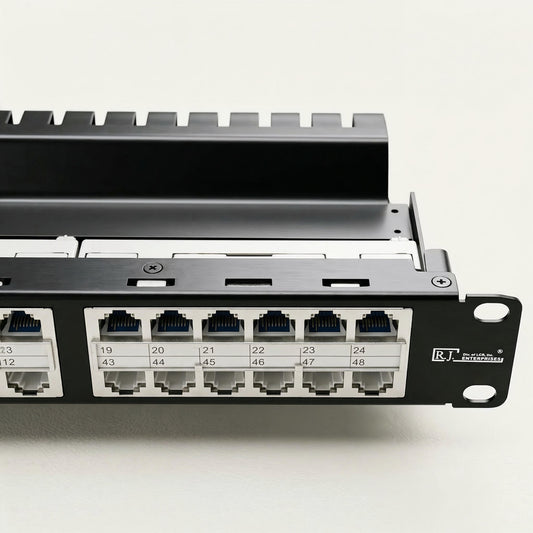
A patch panel gives permanent cable runs an organized, labeled termination point before they connect to active equipment. Browse patch panels for network closets and racks, then review what patch panels do if you are deciding where one belongs in the system. High-port-count installations can also benefit from high-density patch panel guidance.
3. Choose a termination method for each wall drop
For bare horizontal cable, use a keystone jack; for a finished patch-cord end, a coupler can make a clean pass-through connection. Shop Cat5e keystone jacks, Cat6 keystone jacks, and couplers and line extensions. Not sure which option fits your setup? Read RJ45 keystone jack vs. coupler before ordering.
4. Finish the outlet neatly
Use keystone face plates to create a professional finished outlet. If a room needs both Ethernet and coaxial service—such as a cable-modem, TV, media-room, or office location—see our Ethernet + coax wall plate bundles. Empty positions can be completed with blank keystone inserts so the plate remains tidy and protected.
5. Protect unused ports and label the system
Unused ports in patch panels, switches, and wall plates can collect dust and debris. RJ45 dust covers help protect open Ethernet ports and are available in colors that can support simple identification. For large rack builds, consider a 100-pack of red RJ45 dust covers for a visible color-coding option.
6. Make the final compatibility check
Before ordering, confirm the cable category, shielding requirement, connector type, port count, and whether the cable ends are bare or already terminated. Shielded components are most helpful where EMI or electrical noise is a concern; our shielded vs. unshielded Ethernet cable guide can help with that decision.
Structured cabling shopping checklist
- Cable category selected: Cat5e, Cat6, or Cat6A
- Patch panel selected for rack or closet terminations
- Keystone jacks or couplers matched to the cable end
- Face plates and inserts selected for each outlet
- Port protection, labeling, and spare parts planned
For more components across a complete installation, explore our recommended networking parts collection. Planning the pieces together helps create a cleaner install today and makes future troubleshooting or expansion much easier.
Explore more networking resources
Use these related guides and product categories to compare installation methods, select compatible parts, and plan future network upgrades.
Networking guides and visual references
- What is a Keystone Jack?
- Data Centers and The Need For Efficiency
- What is Crosstalk?
- Ethernet Coax Wall Plates: What Are They and Why Do You Need Them?
- What are Field Termination Plugs?
- What are RJ45 Connectors?
- What is a Smart Building
- What is the Internet of Things (IoT)?
- What is Structured Cabling?
- Why Do Locations Matter for Data Centers?
- What are Edge Data Centers?
- Patch Panels vs Switches | Do You Really Need Them?
- What is Edge Computing?
- What is Cloud Computing?
- Why You Should Use High Density Patch Panels in Edge Computing
- What Equipment Are In An Edge Computing Server Cabinet
- Optimizing Edge Deployment in Manufacturing and Industrial Automation
- Why Gold Plating Is a Smart Choice for Modern Applications
- How to Choose the Right Ethernet Coax Wall Plate: A SKU-by-SKU Guide
- Shielded vs Unshielded Keystone Jacks: When You Actually Need STP
- Why TIA Certification & UL Listing Matter: 40 Years of Building Keystone Jacks the Right Way
- Best Ethernet + Coax Wall Plate for Cable Modem Installs
- Cat6A Shielded Wall Plate for Homelab, Office, and PoE Installs
- Bulk Ethernet Coax Wall Plates for Contractors
- Ethernet + Coax Wall Plate Bundles: A Cleaner Way to Finish Cable Modem, TV, and Network Drops
- How to Choose an Ethernet + Coax Wall Plate for a Cable Modem or Router Setup
- Which Ethernet + Coax Wall Plate Bundle Fits Your Room?
- Cat6 vs Cat6A Wall Plates: Which One Should You Buy?
- Best Ethernet + Coax Wall Plate for TV, Streaming, and Media Rooms
- How Contractors Can Save Time With Pre-Bundled Ethernet + Coax Wall Plate Kits
- What Comes In An Ethernet + Coax Wall Plate Bundle?
- Common Mistakes When Buying Ethernet Wall Plates
- Patch Panel Infographic
- Keystone Jack Infographic
- Crosstalk Infographic
- Data Center Infographic
- Ethernet Coax Wall Plate Infographic
- Field Termination Plug Infographic
- RJ45 Connectors Infographic
- Power over Ethernet (PoE) Infographic
- Internet of Things (IoT) Infographic
- Smart Building Infographic
More networking hardware categories
- Best Sellers
- Harmonica Connectors
- RJ45 Crystal Plugs
- Field Termination Plugs
- DB Connectors
- Strain Relief Boots
- Cat5 Keystone Jacks
- Sale & Closeouts
Standards and reference resources
For project-specific requirements, consult the applicable standards and product documentation. These independent resources provide helpful context for structured cabling, Ethernet, and certification terminology:
- Telecommunications Industry Association (TIA) technology and standards
- TIA announcement on balanced twisted-pair cabling standards
- IEEE 802.3 Ethernet standards information
- UL Solutions component certification overview
Always verify the specific standard edition, local code requirements, and product documentation that apply to your installation.